Mastering the Art of Printing Photos at Home
Creating professional-quality prints in your own studio is not only empowering—it completely changes how you experience photography. Rather than outsourcing the final step to a print lab, you take the reins, fine-tuning the entire process from capture to paper. You’ll be able to explore paper types, adjust tonal ranges, and ensure every detail is just right—all from the comfort of your home.
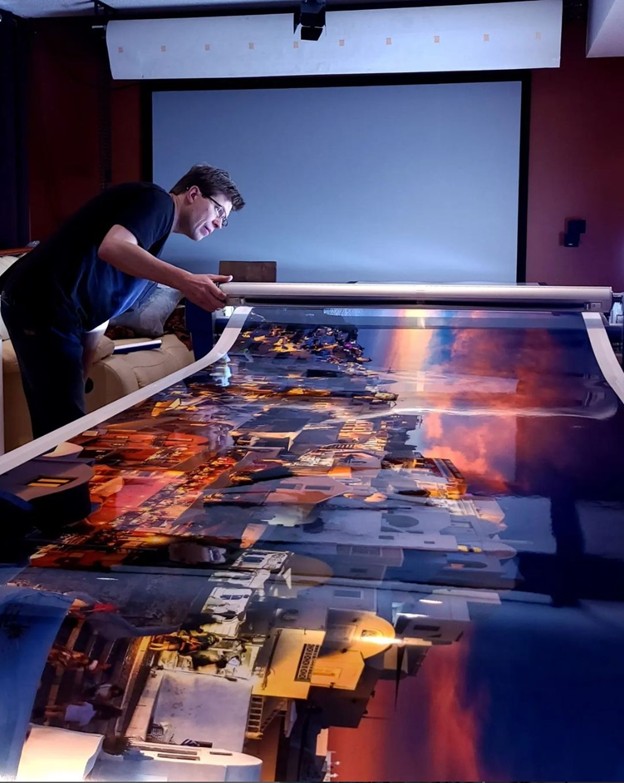
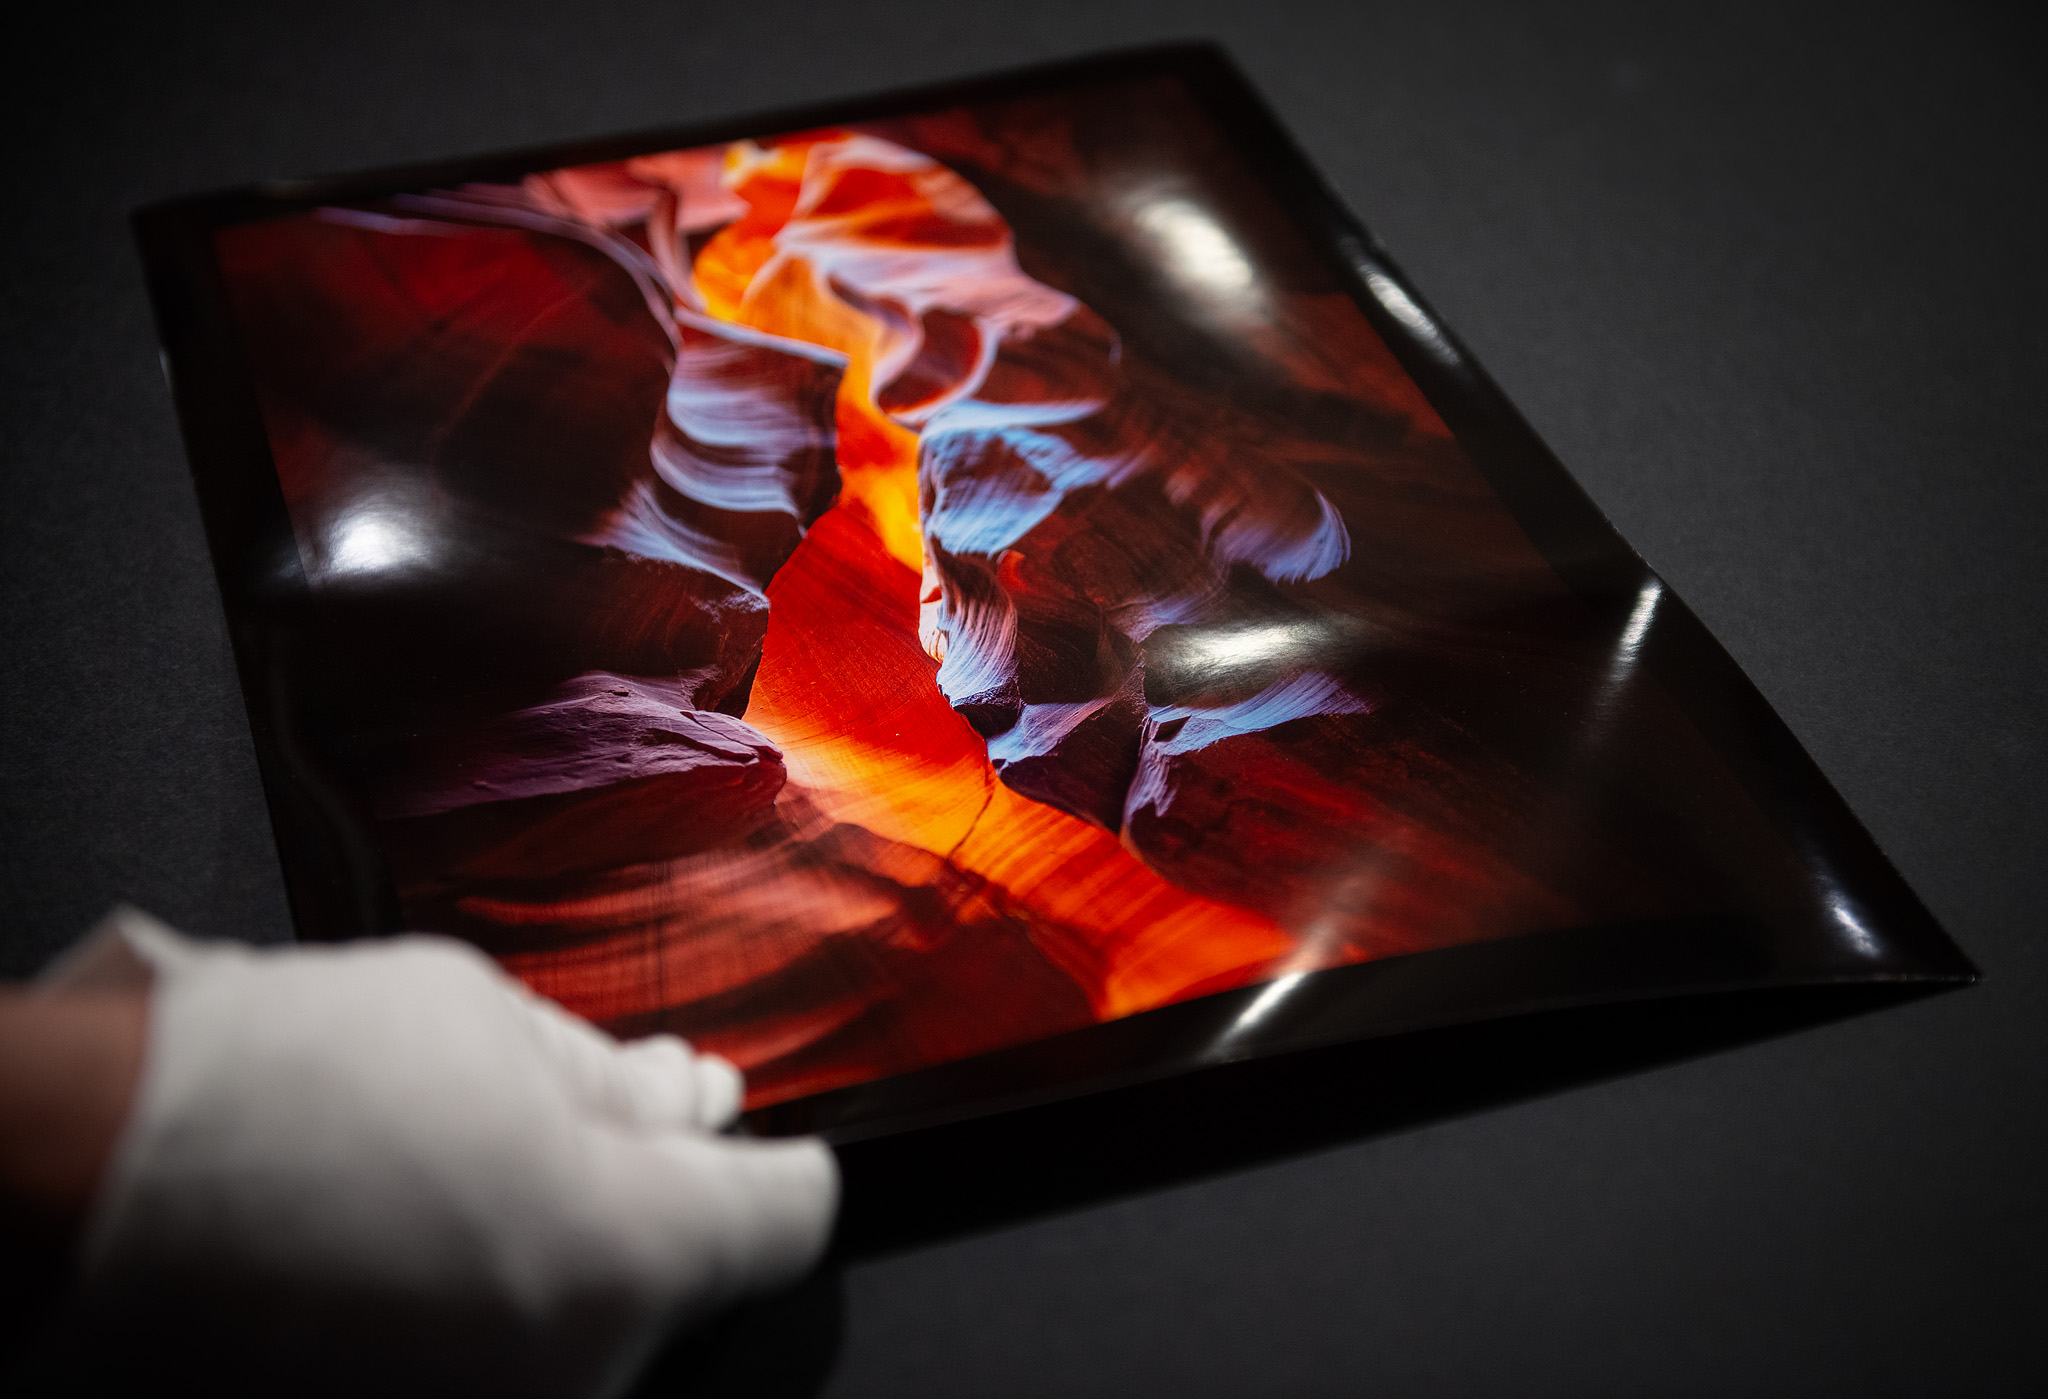
Alex Gubski photographer in his print shop preparing the print for mounting
My own path began more than ten years ago when I acquired my first wide-format printer—an Epson 9890. I expected great prints, but what I got was a crash course in print production. From ink clogs to getting color calibration right, the learning curve was steep. But every mistake taught me something new, and now, after years of refining my approach, I can consistently produce gallery-ready prints in my own workspace.
Though it may seem expensive at first, investing in your own photo printer pays off if you print frequently. While a professional lab may charge between $100 and $200 for a 24×36″ print, you can create the same output at home for just $20 to $40. With consistent use, the equipment pays for itself quickly—especially if you sell prints or produce editions.
Selecting a Home Photo Printer That Fits
Your choice of printer will hinge on your goals, budget, and available space. Canon and Epson dominate the professional photo printer market, each offering unique advantages.
For newcomers, the Canon PIXMA PRO-200 is a solid entry-level option (around $600). It handles prints up to 13×19″ and is widely praised for its vivid colors.
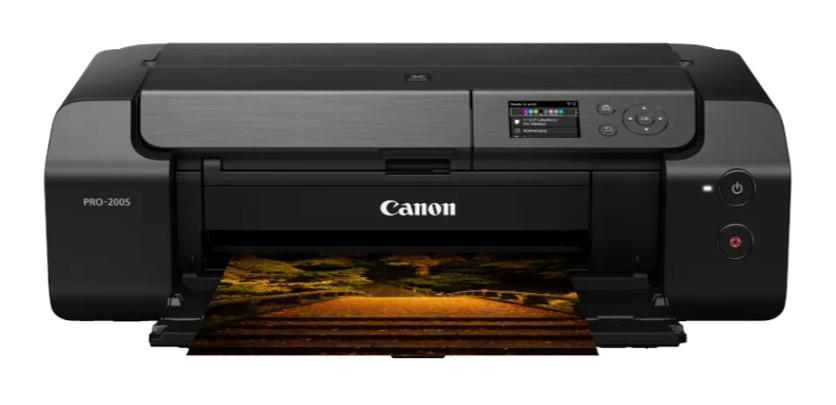
PIXMA PRO-200S Photo Printer
Une step up is the Epson SureColor P900 retailing at about $1,200 and capable to print up to 17” wide. The printer offers stunning detail and features archival pigment ink system.
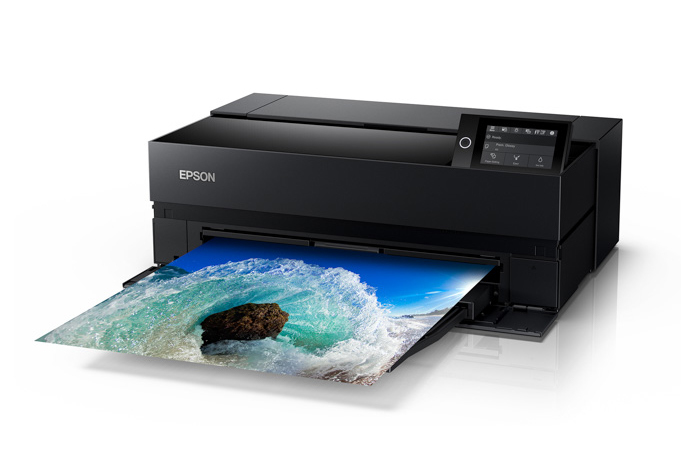
SureColor P900 Photo Printer
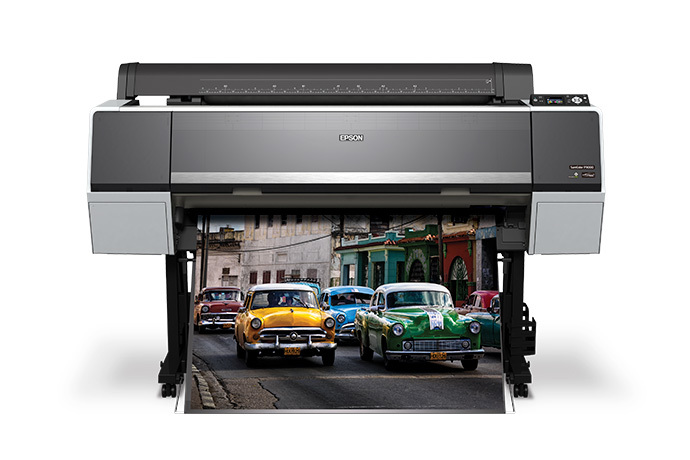
If you want to expand into wider formats, the Epson SureColor P9000 is an excellent pick. With support for up to 44″ wide prints and UltraChrome PRO10 pigment inks, it delivers exceptional tonal range.
On the professional side, the Canon imagePROGRAF 4600 and the Epson SureColor P9570 (44″) offer top-of-the-line performance and are commonly used by fine art photographers and printmakers.
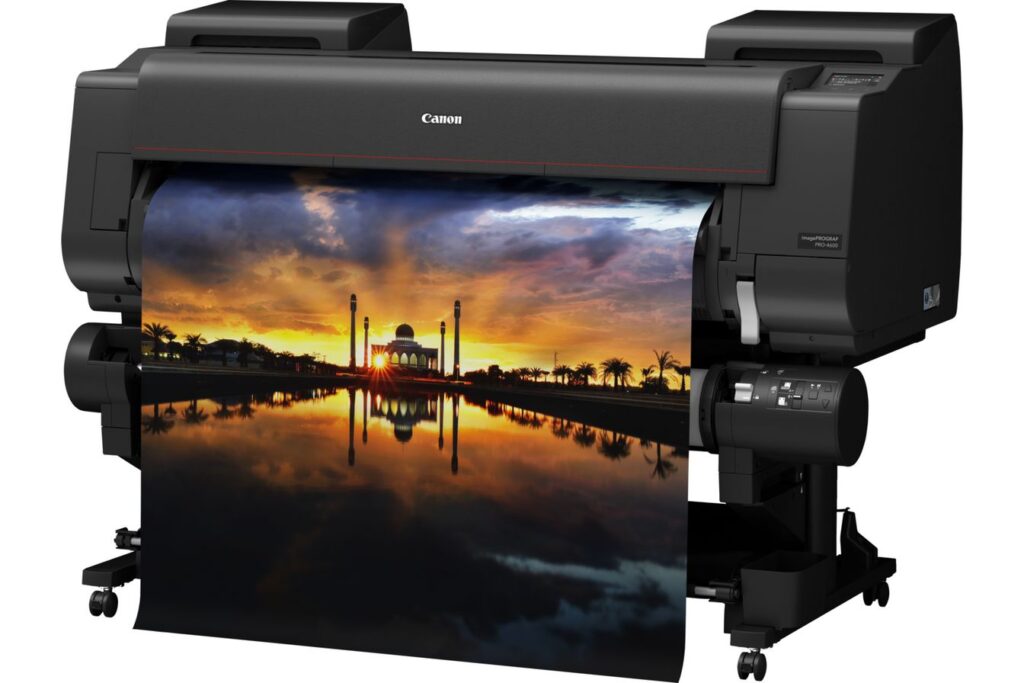
Canon imagePROGRAF 44″ PRO-4600
Epson vs Canon: Technical Differences That Matter
Epson printers use piezoelectric print head technology, offering extreme precision and long-term durability. The downside? These heads are not user-serviceable. If a clog becomes unmanageable, replacing the unit can cost several thousand dollars.
Canon uses thermal print head systems that are easy to replace by the user. That convenience comes with a tradeoff: thermal heads naturally wear out over time due to the heat used in the printing process. My own Epson’s head lasted nearly a decade with regular care, but maintenance is critical.
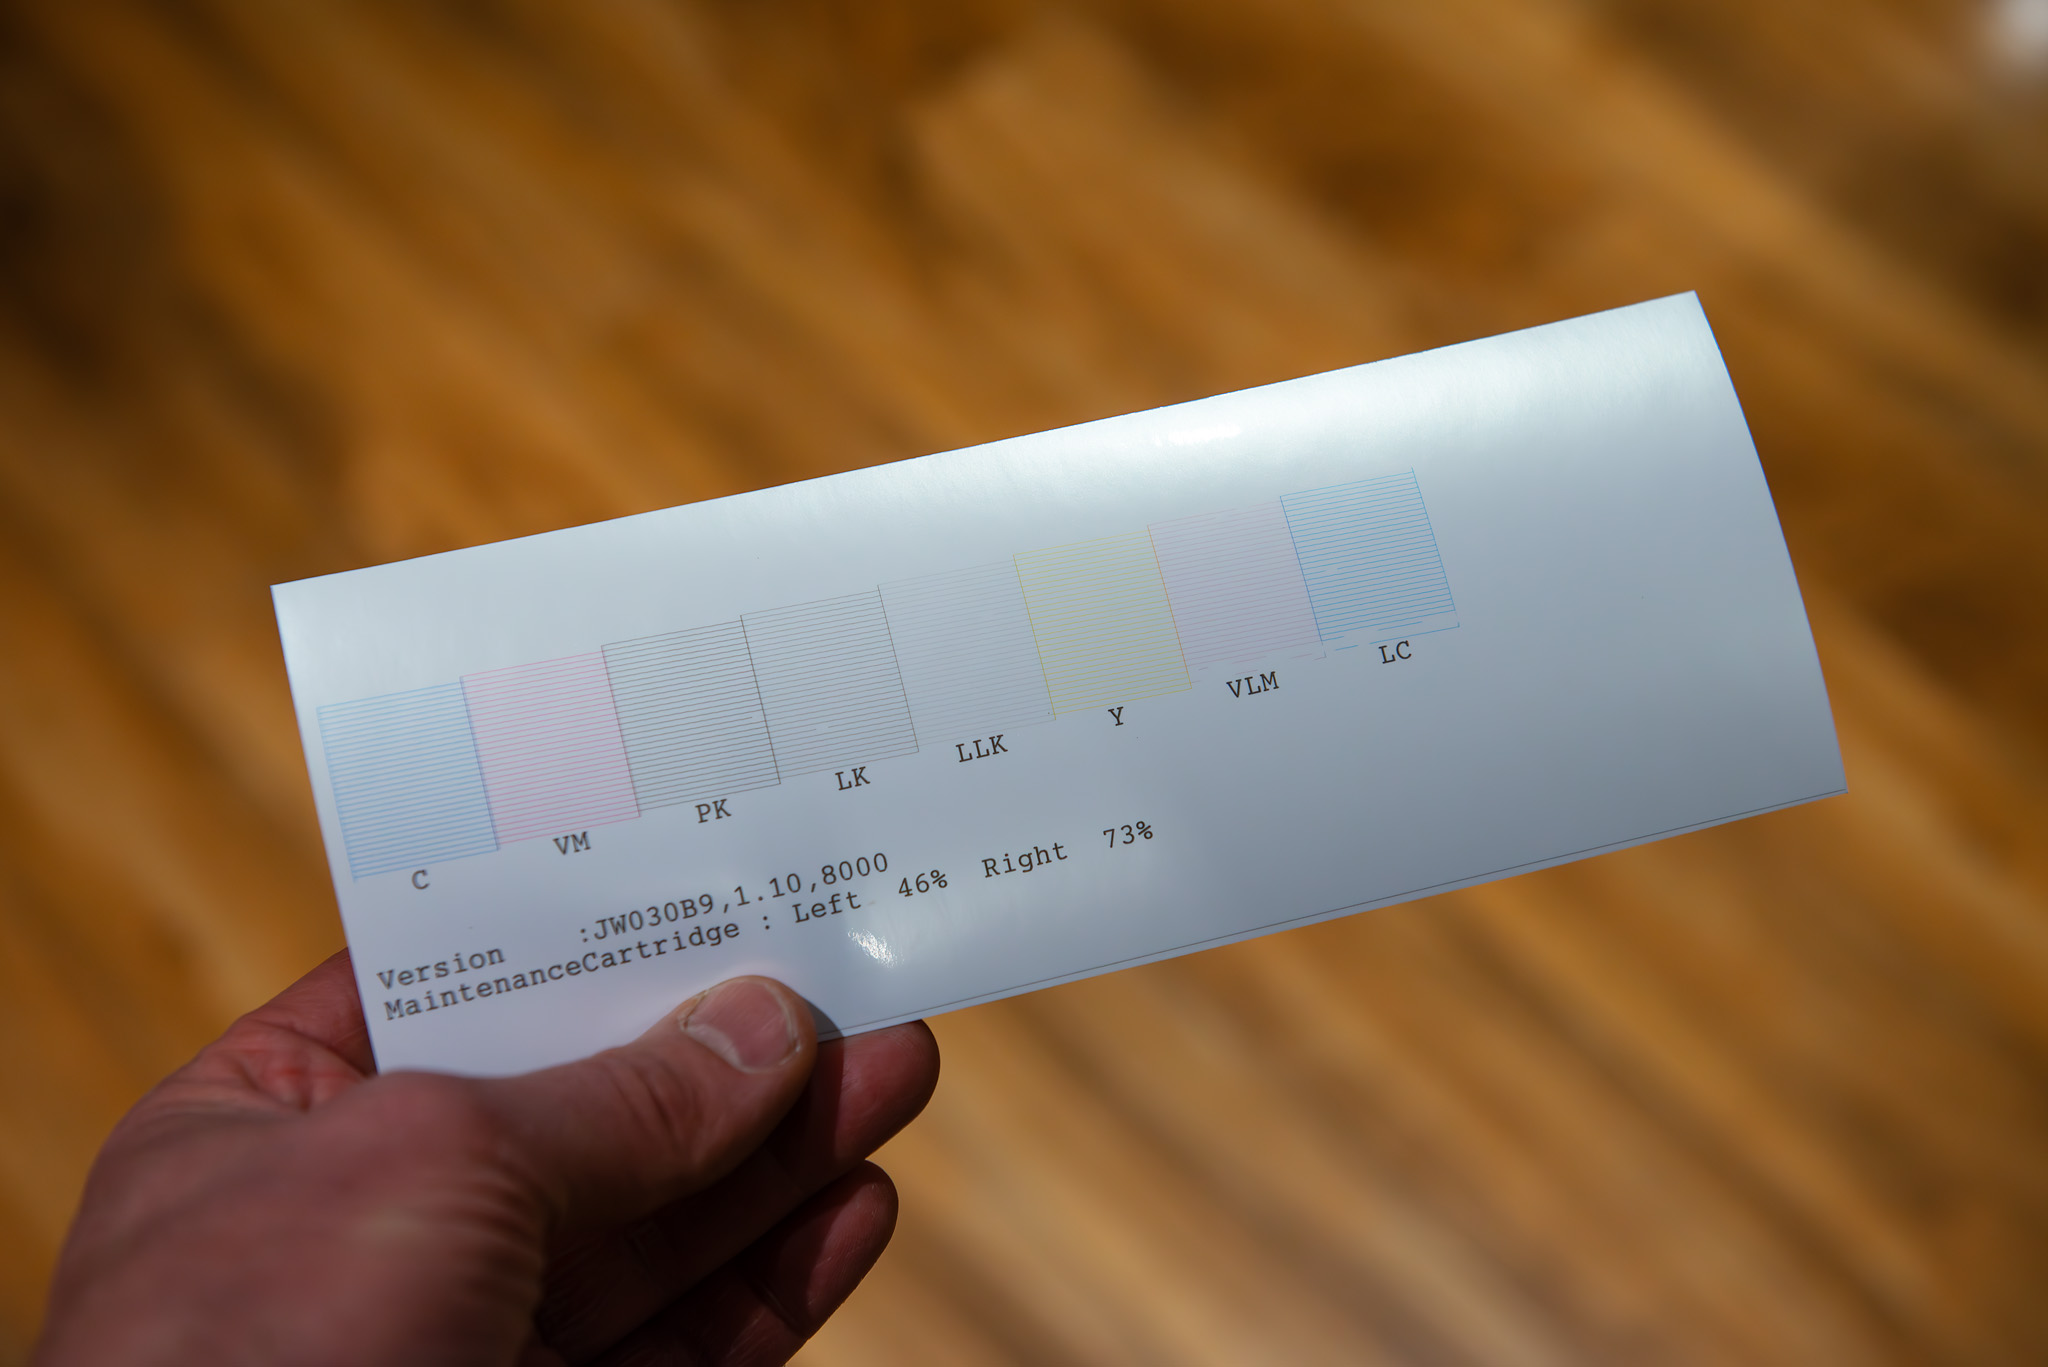
Consistency Is Key: Regular Printing and Maintenance
One of the lesser-known facts about owning a photo printer is that it needs to be used. Leave it idle, and ink dries in the nozzles, leading to clogs. I’ve made it a habit to print at least once a week to avoid such problems. This small commitment prevents more significant issues and extends the life of your machine.
If you’re not printing often enough to justify ownership, it may be smarter to use online print services or local labs until your needs grow.
Planning the Ideal Home Printing Workspace
If you plan to print large-scale images, be prepared to allocate physical space. A wide-format printer alone takes up considerable room. You’ll also need a 4-foot by 8-foot table for cutting and reviewing your work. Covering this surface with a gridded cutting mat will protect it and simplify your workflow.
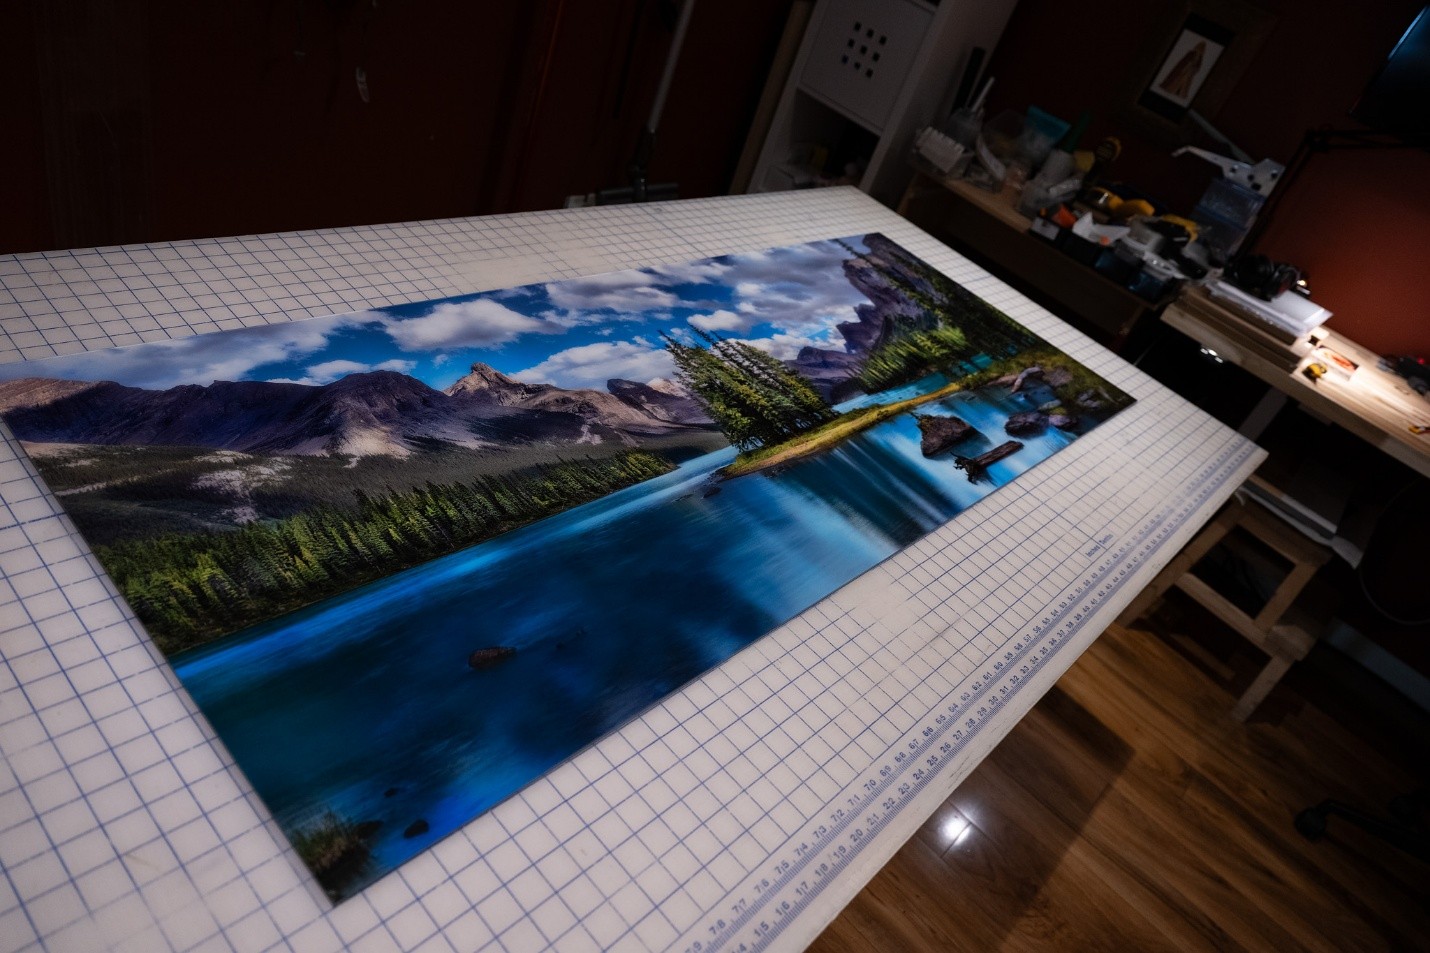
Home Print Shop Desk with Cutting Mat Surface
If you handle your own mounting (and many do), your workspace should also accommodate a feeder table, a mounting press or roller, and a receiving table. Without sufficient space, even simple mounting tasks can become frustrating and prone to mistakes.
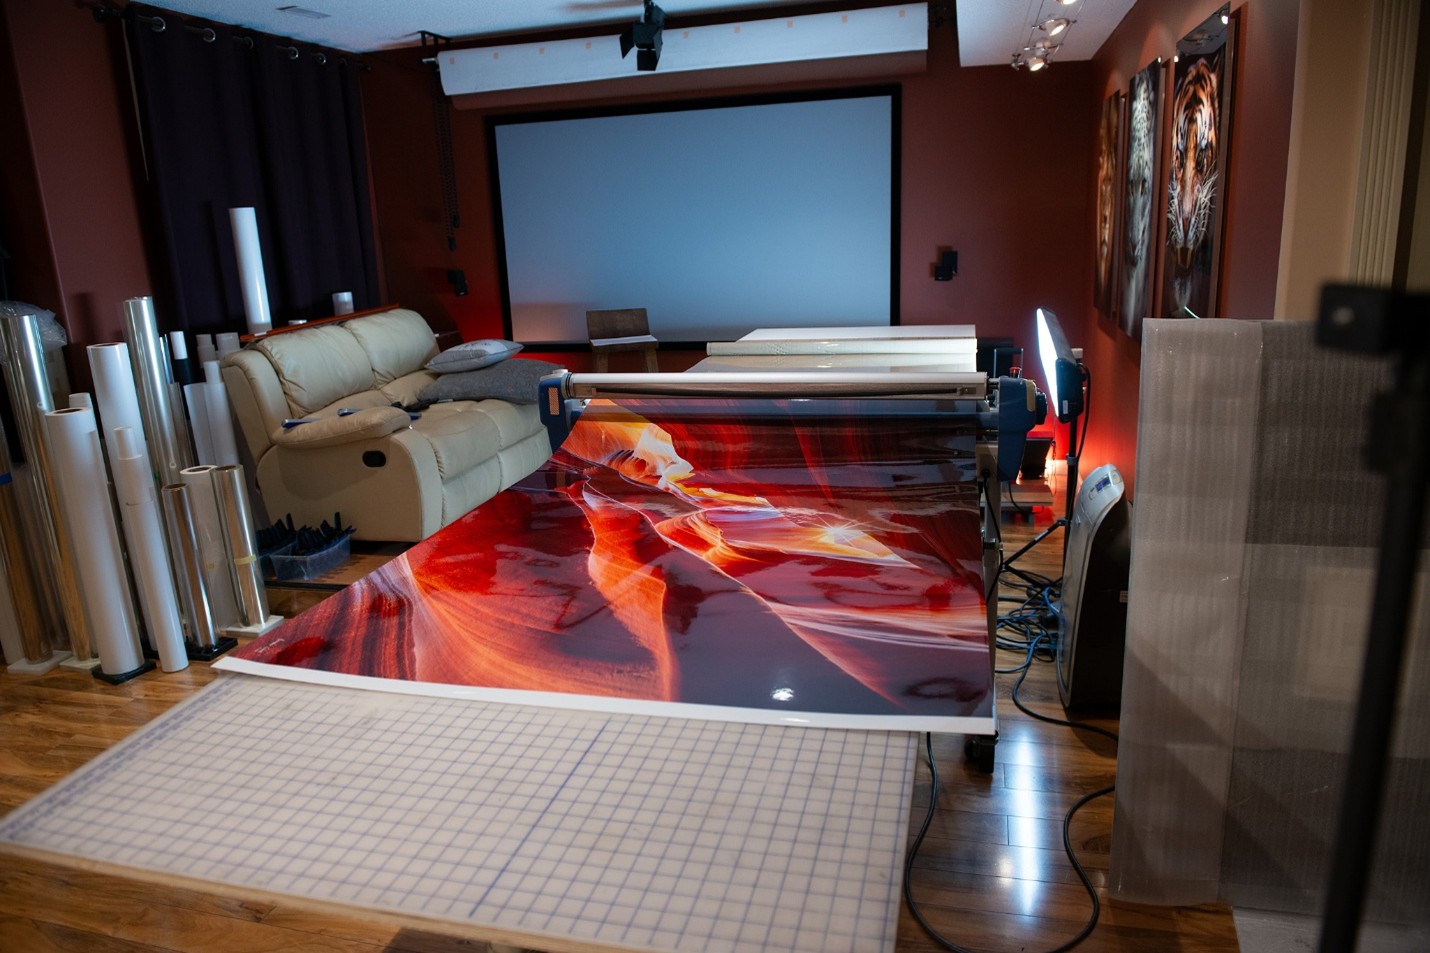
Home Print Shop Laminator with feeder desk
Ventilation is another essential consideration. If you use sprays, adhesives, or lamination tools, a well-ventilated space is a must. I often wear a respirator while working with mounting chemicals—not glamorous, but very necessary.
How to Print Images with Color Accuracy
When printing photos at home, matching your screen to your final print is crucial. Use calibration devices like the X-Rite i1Display or Datacolor SpyderX to adjust your monitor. Pair this with ICC profiles that match your printer and paper.
Editing apps like Photoshop and Lightroom offer soft proofing modes, letting you preview how a print will look with a specific paper and color profile before you even hit the print button.
Glossy-Photo-Print
Conclusion: Why It’s Worth Learning How to Print Photos at Home
Learning how to print photos at home opens up creative control you just can’t get from a third-party lab. You’ll tailor each image to the paper type, fine-tune colors and contrast, and present your work exactly as you envisioned. While the investment in time and gear is real, the ability to consistently produce top-tier prints makes it worthwhile.
Explore more photography, printing, and workflow tips on my blog, where I cover everything from mounting techniques to selecting archival papers.
Helpful Links
- Understanding Lumachrome TM prints
- The Most Expensive Photograph Ever Sold
- B&H’s Guide to the Best Photo Printers
Alex Gubski
alexgubski.com