How to Print like Peter Lik?
There is a lot of interest among photography enthusiasts around the way Peter Lik finishes his prints. Lots of landscape photographers set this style as a benchmark of the ultimate print style. I have done lots of prints in this technique and think it’s time to share some of the lessons learned.
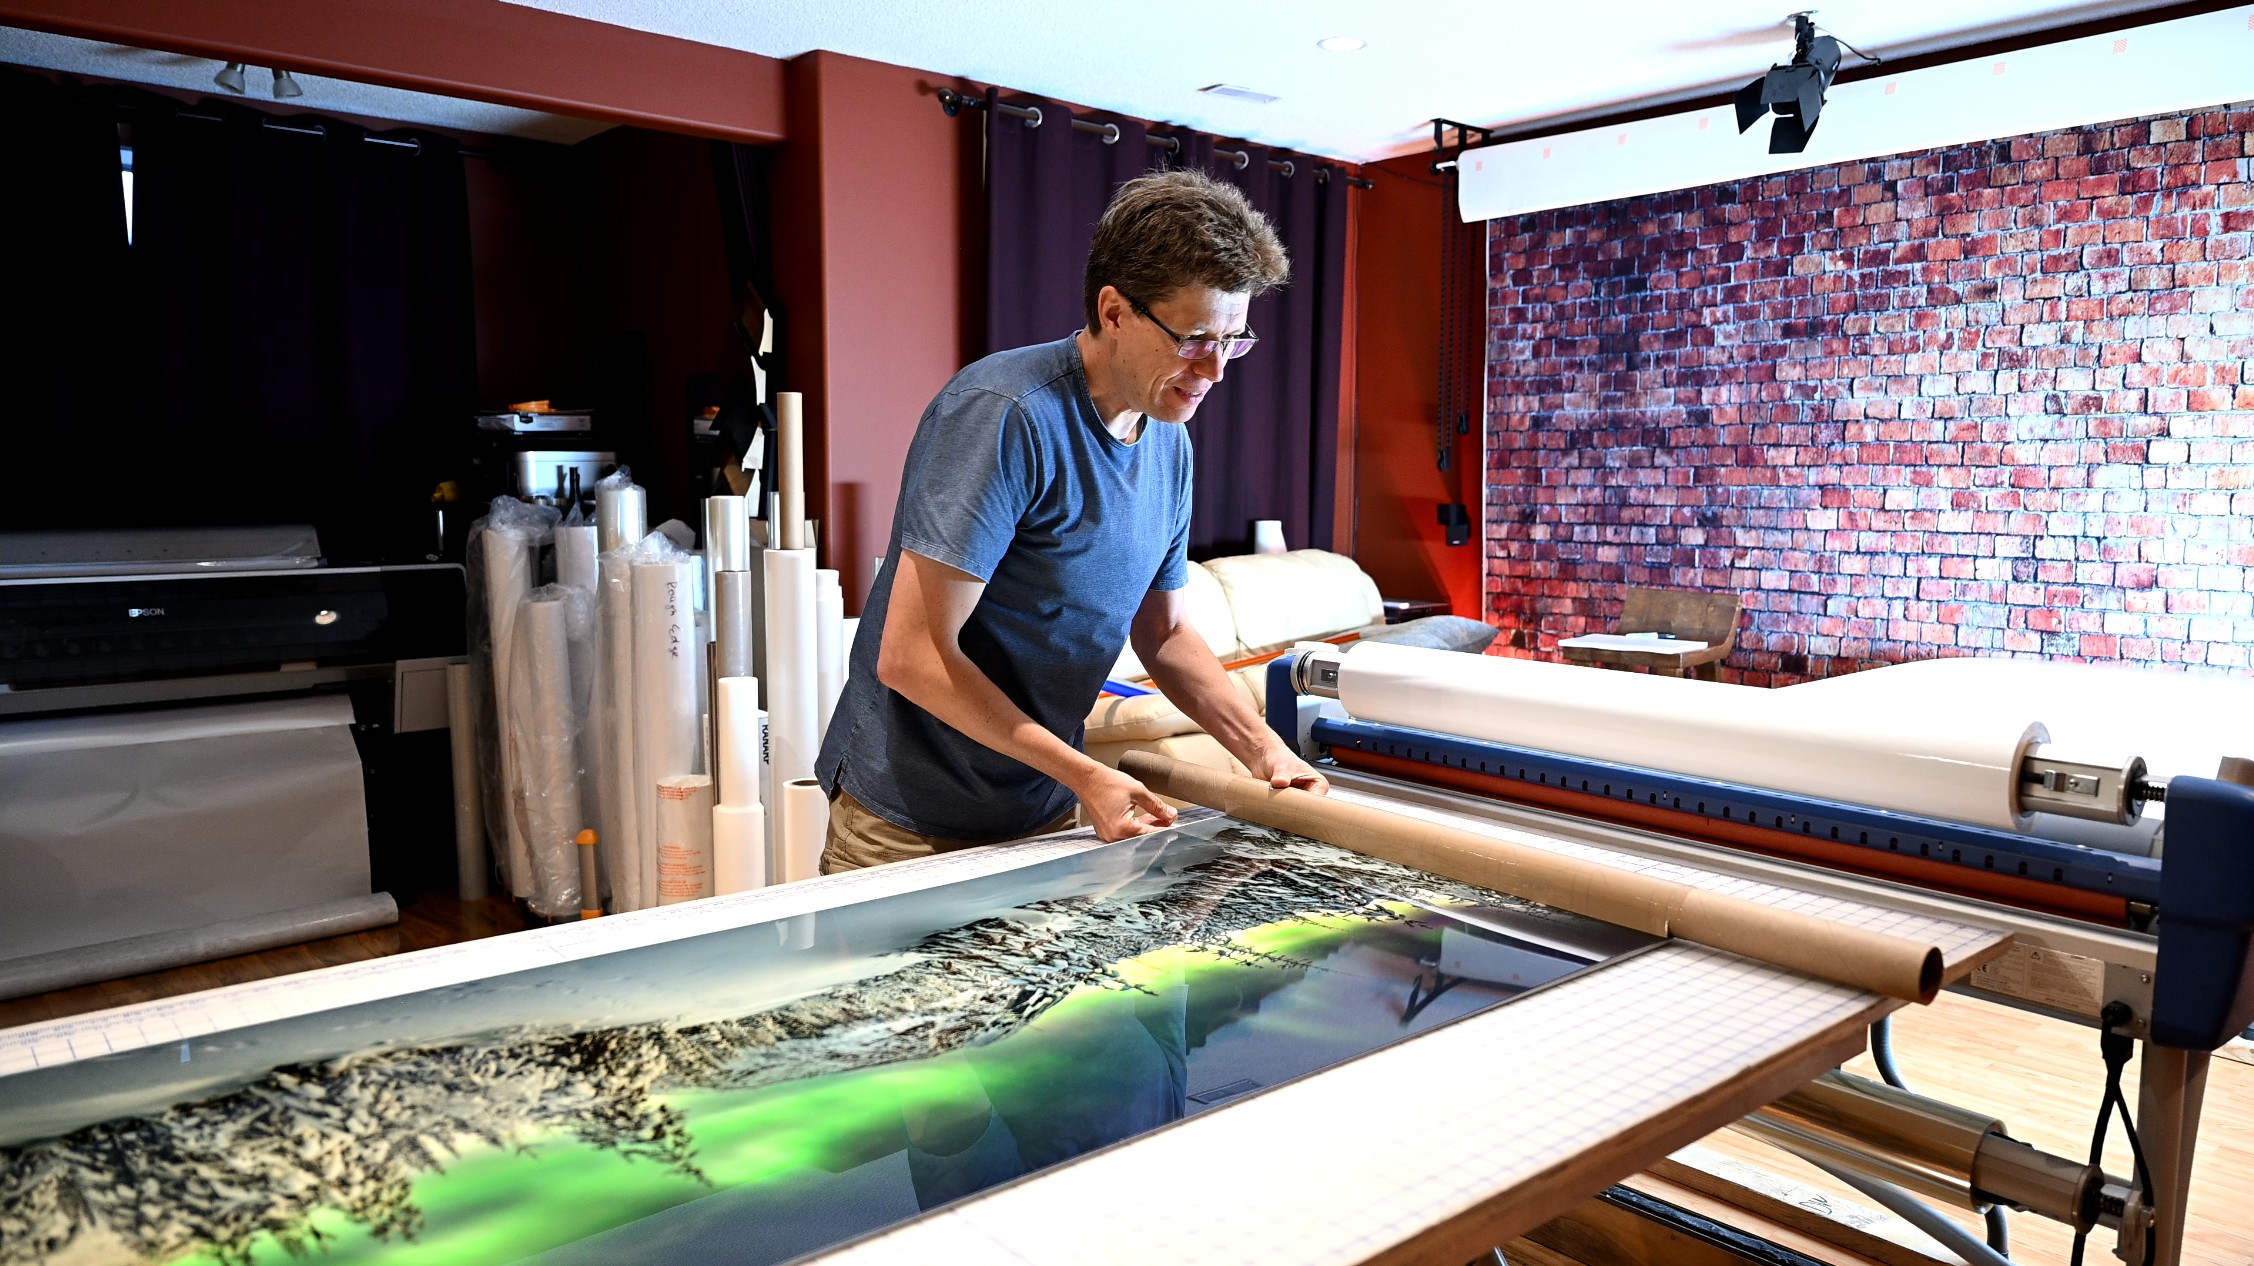
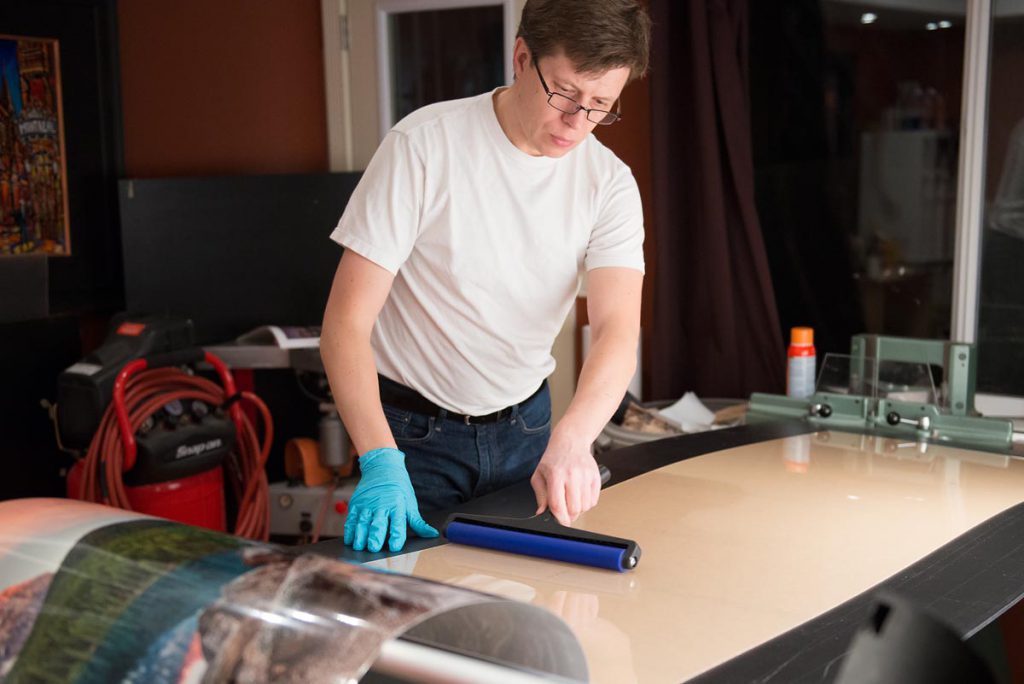
Here is a sneak peek at the production of the framed acrylic mounted print. I will discuss the steps involved in the production and what equipment will you need down below.
If you look up the subject you are most likely to run onto the video made by Lee Morris on YouTube, where he sets the print into a mirror frame purchased at Bed, Bath & Beyond in an attempt to obtain a Peter Lik styled piece on a budget. This, of course, is an extreme attempt to minimize expenses. However to get more or less comparable results you’ll need to focus on learning the process and get your hands on some specialized equipment.

The process
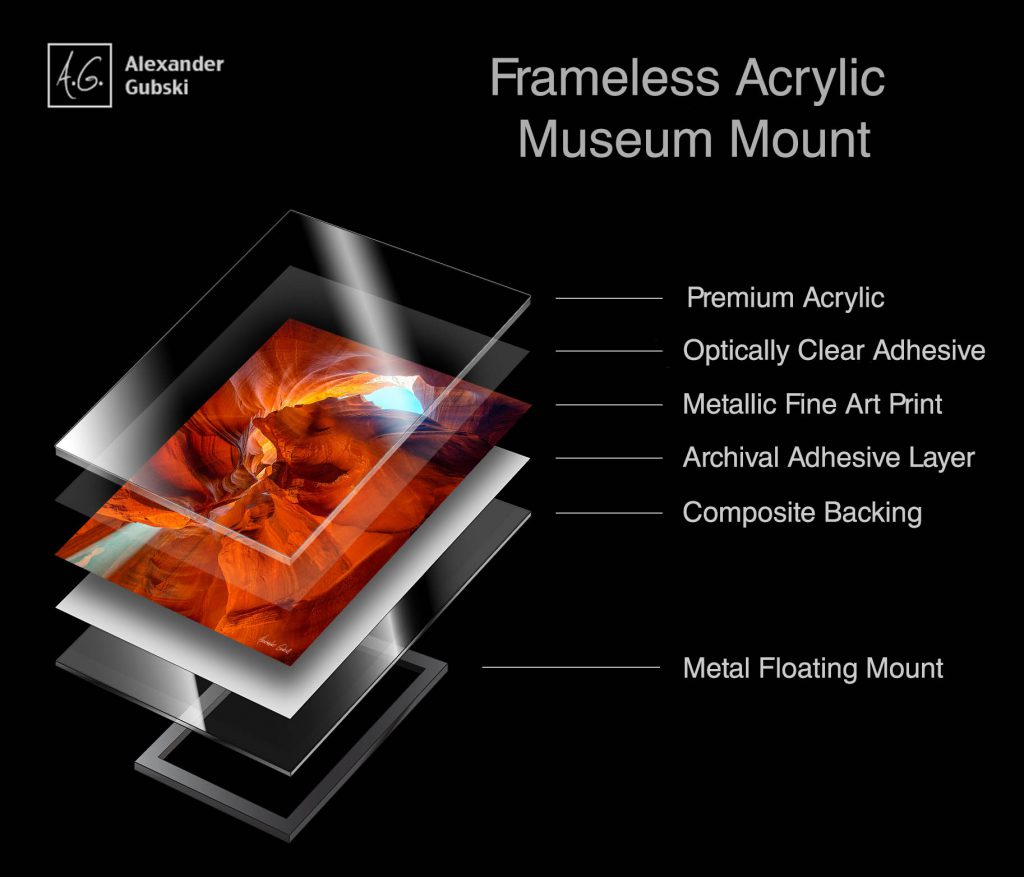
The technique Peter Lik uses for his prints is called acrylic face-mounting. It involves three main steps. Print production, acrylic face-mounting, and framing. Each step is important to obtain the desired result and here I will try to explain some approaches and walkarounds of each stage.
The print production.
Here, depending on size and your intentions to continue along this road you may want to look into investing in a photo printer or use the services of a commercial print shop. If it will be a one-off project to mount one print, it makes perfect sense to seek the services of a professional print shop. Many shops these days offer direct-on-acrylic prints as well as face-mounted prints. Direct-on-acrylic prints lack that luminosity that you may be after and the only choice, in this case, is to order a metallic print that will have to mount on acrylic.

Paper Options
Peter Lik produces prints using a traditional chemical process with silver halide papers. Such as Fuji Crystal which is also known as C-Type prints. This technology may not be readily available everywhere and if you’d like to use this technology your choice is limited to a select few print shops which offer this service.
The second option that offers very much comparable results is the inkjet on metallic media which is more widely available. The modern inkjet produces nearly indistinguishable results from the C-type technique at a fraction of the cost. More on the comparison between C-Type vs Inkjet prints can be found in my article on this subject.
If you’re tight on budget but want to continue making acrylic mounted prints it may be best to purchase a desktop inkjet capable of producing 17″ wide prints.
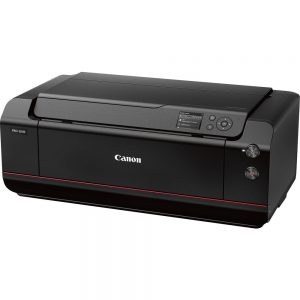
This way after an initial investment you can produce a sufficient number of prints to experiment with at a lower cost than it would be if you involve a commercial print lab. The cost for the printer would be in the range of $1000 to $2000. Of course, this machine won’t get you to the large format but you need to start somewhere before going bigger.
Recommended media for face mount application is any glossy photo paper. And if you’re really after that classy Peter Lik style, look into metallic glossy media.
The frequently asked question is do your prints react to light in the same way as demonstrated by sales associates of Peter Lik galleries. The short clip below will shed some light, literally, on the pigment metallic print.
Acrylic face-mounting
This is the most difficult part of the process which requires a specialized adhesive, acrylic sheet material, and a roll laminator. You can find acrylic sheets in hardware stores like Home Depot in the plastic section. Depending on the cut and thickness the piece of acrylic may cost from $20 to $150. Make sure to buy acrylic and not polycarbonate. Although they look the same, polycarbonate will yellow with time while acrylic will not.
The problem with the face-mount adhesive is the cost. Normally you can’t buy it in small quantities and you may have to invest in a $500 roll of 100 feet of adhesive film.
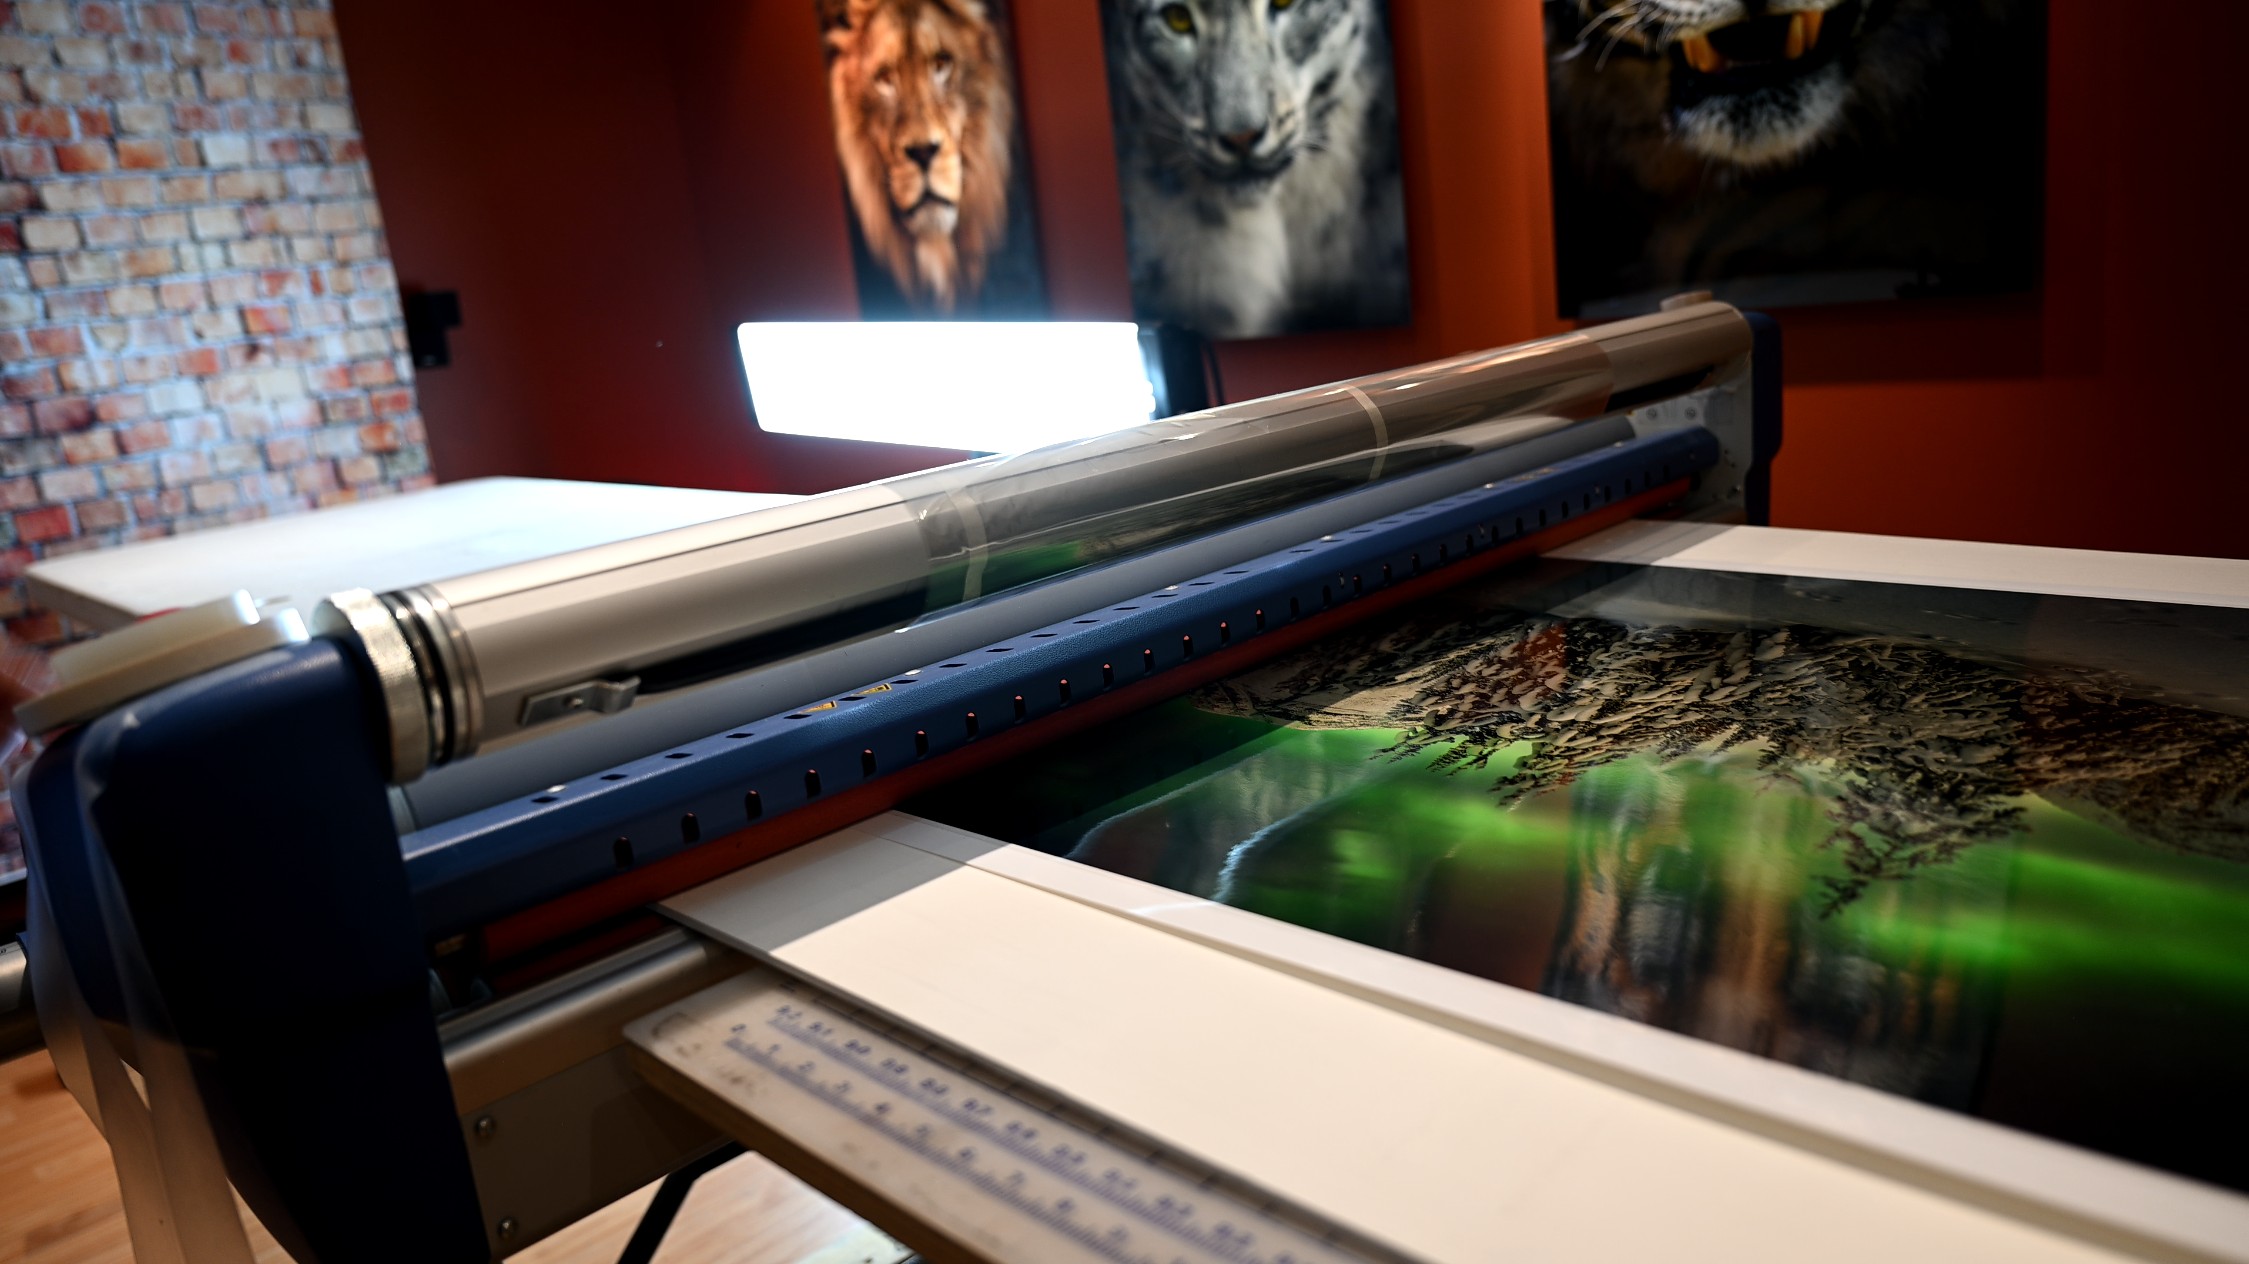
The process involves running the print on a sled into a laminator while applying an adhesive on its face. There are plenty of informational videos online and you can familiarize yourself with them before diving in. Even though the process itself is straightforward it is quite easy to mess things up if you don’t apply the correct pressure, overlook a dust particle or skew the adhesive film during the application.
The cost of a simple laminator varies in a wide range. From $300 for a manual drive contraption to several thousand for a proper electrically driven unit. I would recommend staying away from manual laminators. It’s a good idea to have all hands on deck during the process to take care of feeding material and keeping the dust away.
You can use a similar technique to adhere the backing to your acrylic print. You may want to use a less expensive pressure-sensitive adhesive. There is a wide range of options when it comes to the backing. You may use another sheet of acrylic, composite panels, or Comatex (Sintra) board.
Adding the hanging hardware
Once your sandwich is complete you will need to clean the edges and add some mounting hardware to be able to hang it on the wall. Commercial facilities use CNC equipment to route the edges. In a small DIY operation, you may use a hand router and a straight edge to achieve the same objective.

Having completed the panel you will need to add an offset frame to the back. Or set the print into a proper liner and a frame. There are multiple options for the offset frame. Options may vary from the wooden or MDF profile to plastic and aluminum.

You can use any industrial adhesive to attach a back frame to the artwork from silicone to contact cement. Industry-standard though is an industrial VHB tape.
Framing
the custom frame is arguably one of the most important aspects of the visual impact the artwork will have on the viewer. Frame material selection shall match well with the room interior and the image color palette. One of the signature elements of Peter Lik’s framing style is wide bevel-cut linen liners.

If you’d like to tackle liner production from scratch you will need to have medium-level carpentry skills. Production starts with manufacturing a beveled profile like the one shown below.
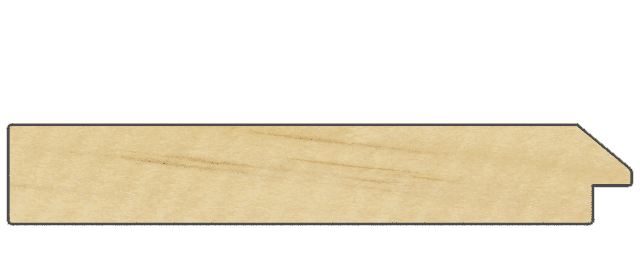
You can relatively easily produce this profile on a consumer table saw. If you’re looking to use them in larger quantities then a local woodworking shop will be happy to help you with manufacturing.
Liner wrapping
Once the profile is ready to will need to wrap it with black fabric. Fabric selection is only limited by your imagination and available stock in your local fabric shop. You can apply fabric with water-based glue or spray adhesives. White school glue for example will work perfectly well. Here some trial and error is, unfortunately, a necessary thing before you figure out proportions and timing.

To set the print into a liner you’ll need a tab gun. Either manual or pneumatic will work equally well.
Once you assemble the liner it’s time to look into framing options. Peter Lik often uses Italian-made ROMA Tabacchino frames. These are quite expensive and you can usually find them through ROMA distributors. Prepare yourself for the price shock if you’d like to get authentic molding. If you’re on a budget there are plenty of other options that may work equally well.
Frame assembly will once again call to test your carpentry skill. Consumer miter saw will be adequate for 45-degree miter cuts. To join the frame you will need either a specialized underpinner or a v-nail gun.

This is pretty much it. Once you went through the process you will be looking at a gorgeous acrylic-mounted print set in a custom frame and ready to go on display.
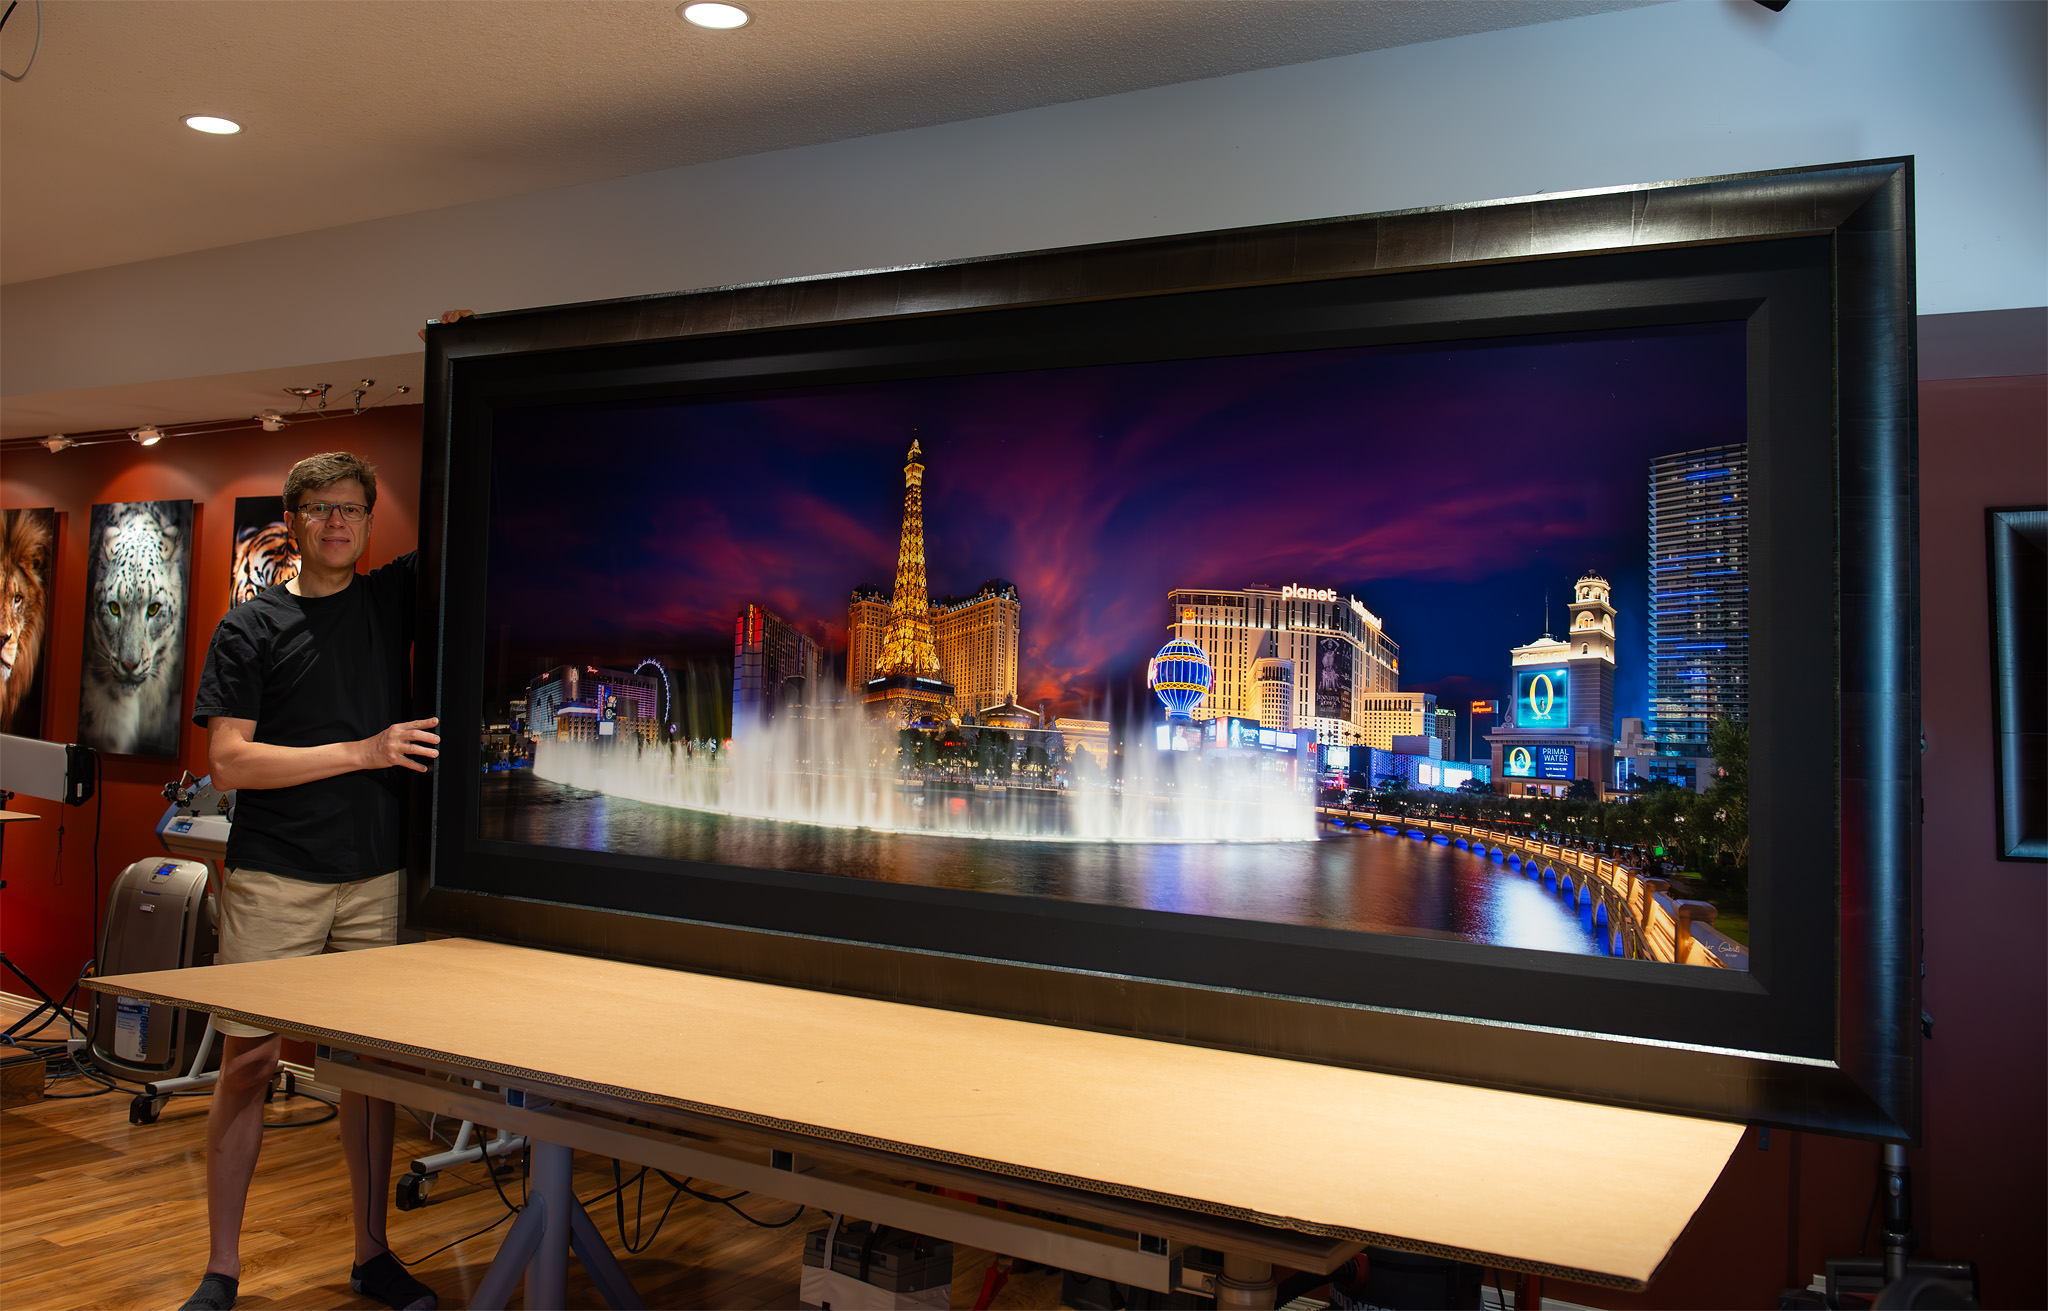
Here is the last video to serve as inspiration to those who doubt their ability to achieve a similar gallery look. All you need is some investment of time and effort to produce your own acrylic-mounted print.
NON-AFFILIATION DISCLAIMER
Alexander Gubski Photography is an independent business. Alexander Gubski is not affiliated, associated, authorized, endorsed by, or in any way officially connected with the owners of the respective brands mentioned on this website. As well as with any of their subsidiaries or their affiliates.
All brand names, as well as any related names, marks, emblems, and images, are registered trademarks of their respective owners.
Related articles:
- Peter Lik Photography
- Peter Lik Alternative
- Chromaluxe and the World of Dye Sublimation Printing
- Understanding Lumachrome™